Surfboard Production Times: What it Takes to Make a Board
Wondering why you’re having a hard time finding your favourite surfboard or why it’s always out of stock? To get a better understanding of why this is, let’s take a look at how surfboards are made and an overview of the process boards go through before they end up in your quiver.
So how long does it take to make a ‘quality’ surfboard? For some of us the answer is, not fast enough. And the reason behind this is because surfboards are handmade and take a lot of craftsmanship and work hours to be manufactured.
 Freshly shaped blanks ready for the next step
Steps When Making Surfboards
Surfboard manufacturing is a career in its own, balanced between hand craftsmanship and art. It takes years of experience and a keen appreciation of what makes a great surfboard to become a master craftsman.
Step1: Ordering the Materials
The first step in making a surfboard is to build or order blanks. A blank or foam core is the surfboard’s basic building block. It is roughly the shape of the finished surfboard and is split from nose to tail by a wooden strip called a stringer. The stringer holds the two halves of the foam core together and provides rigidity to the board. Today we’re seeing more and more variations of the traditional wooden stringer surfboard blank, both with and without stringers. From environmentally blown foam to carbon infused blanks, it’s an exciting time to be a surfer. Here are some of the common types of board blanks:
Polyurethane foam (PU)
The use of polyurethane foam in the construction of surfboards can be traced back into the 1950s. These were highly popular because they are extremely light and can easily be shaped. Today the majority of professional surfers ride PU blanks, however we’re quickly seeing more types of foam under the pro’s feet for a range of reasons.
Prolapse Polystyrene (PPS)
Surfboard makers have since moved on from polyurethane foam and switched to the environmentally friendly Prolapse Polystyrene foam. The takeaway is that Prolapse Polystyrene (PPS) is a little harder to shape and is a little less durable as Polyurethane foam.
Expanded Polystyrene (EPS)
This is the same material used for Styrofoam coolers. It is extremely lightweight but the hardest to shape. This is why EPS boards are manufactured and not hand shaped. These are also cheaper to make compared to other surfboards.
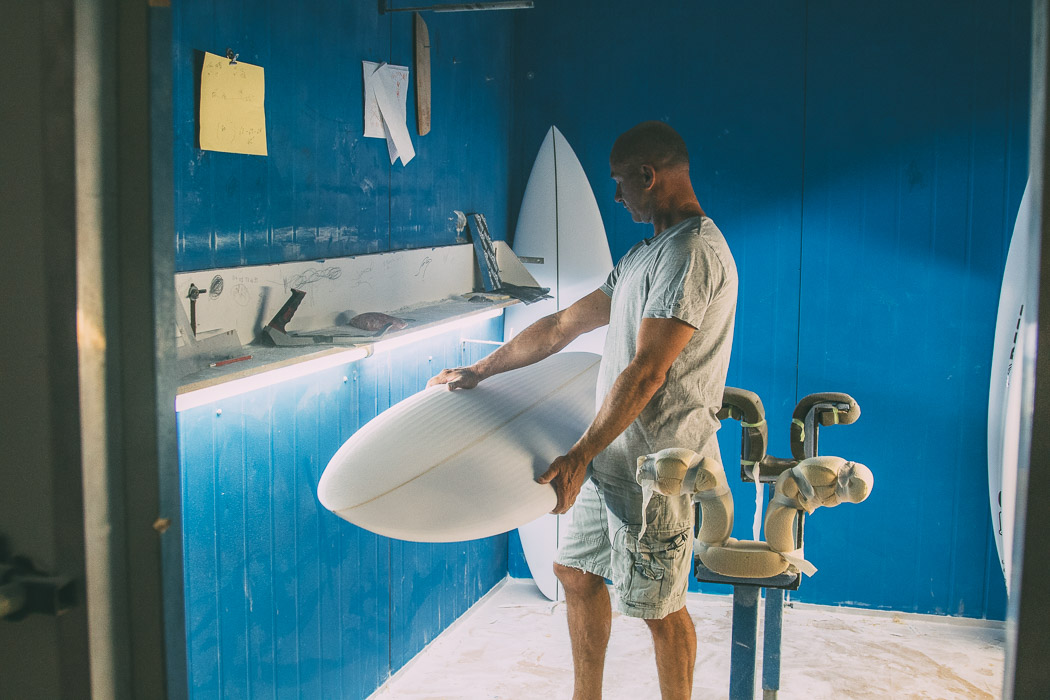
Step2: Shaping the Board
After receiving or making the blank, it is then shaped by hand using different tools. An electric plane is used to smoothen out or grind the outer skin of the blank while a saw is used to cut the outline. It is then sanded out to smoothen the surface and produce a finer finish.
You can say that no two boards are exactly the same. This is because every board is shaped a little bit differently, this even with the best craftsmen in mind. Shaping a single surfboard can take hours and only the trained eye and hands of an experienced surfboard builder determines the final shape of the blank.
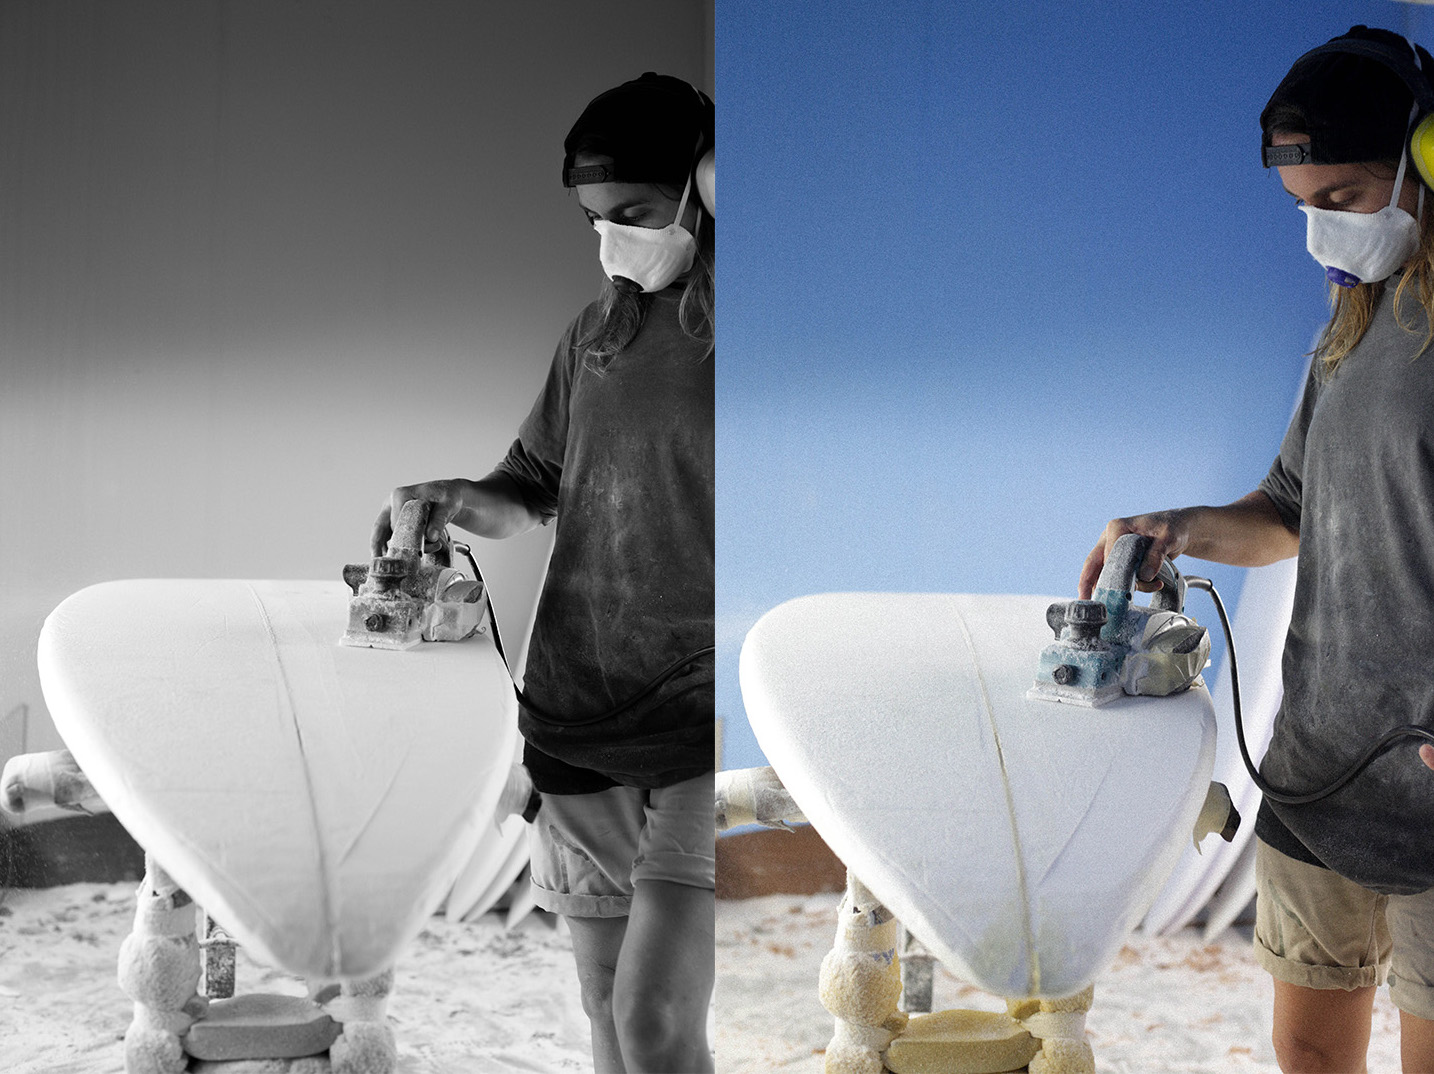 Sanding using an electric plane. Photo: Izzy Hobbs
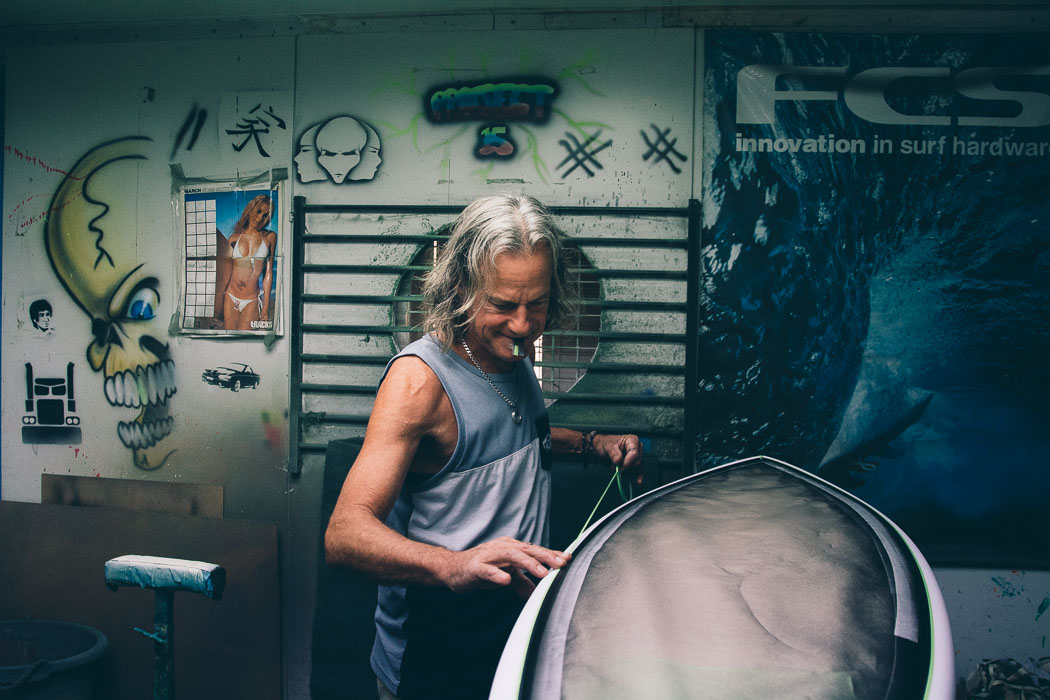
Step3: Painting the Board
It is now time to add some spice to the board. You might think that the painting is done over the shiny surface, but it is actually painted on the foam. How long the board spends in this step depends on the complexity of the design and of course the skill of the painter.
 Taping up some lines on a custom artwork board
Step4: Laminating the Board
Fibreglass cloth is laid over the surface of the board. The number of layers usually depends on the type of surfboard. Shortboards, for example, have a single layer of fibreglass cloth on the bottom while the deck can have two or more layers. Longboards, on the other hand, may require thicker and more layers of cloth because of their size and rigidity requirements.
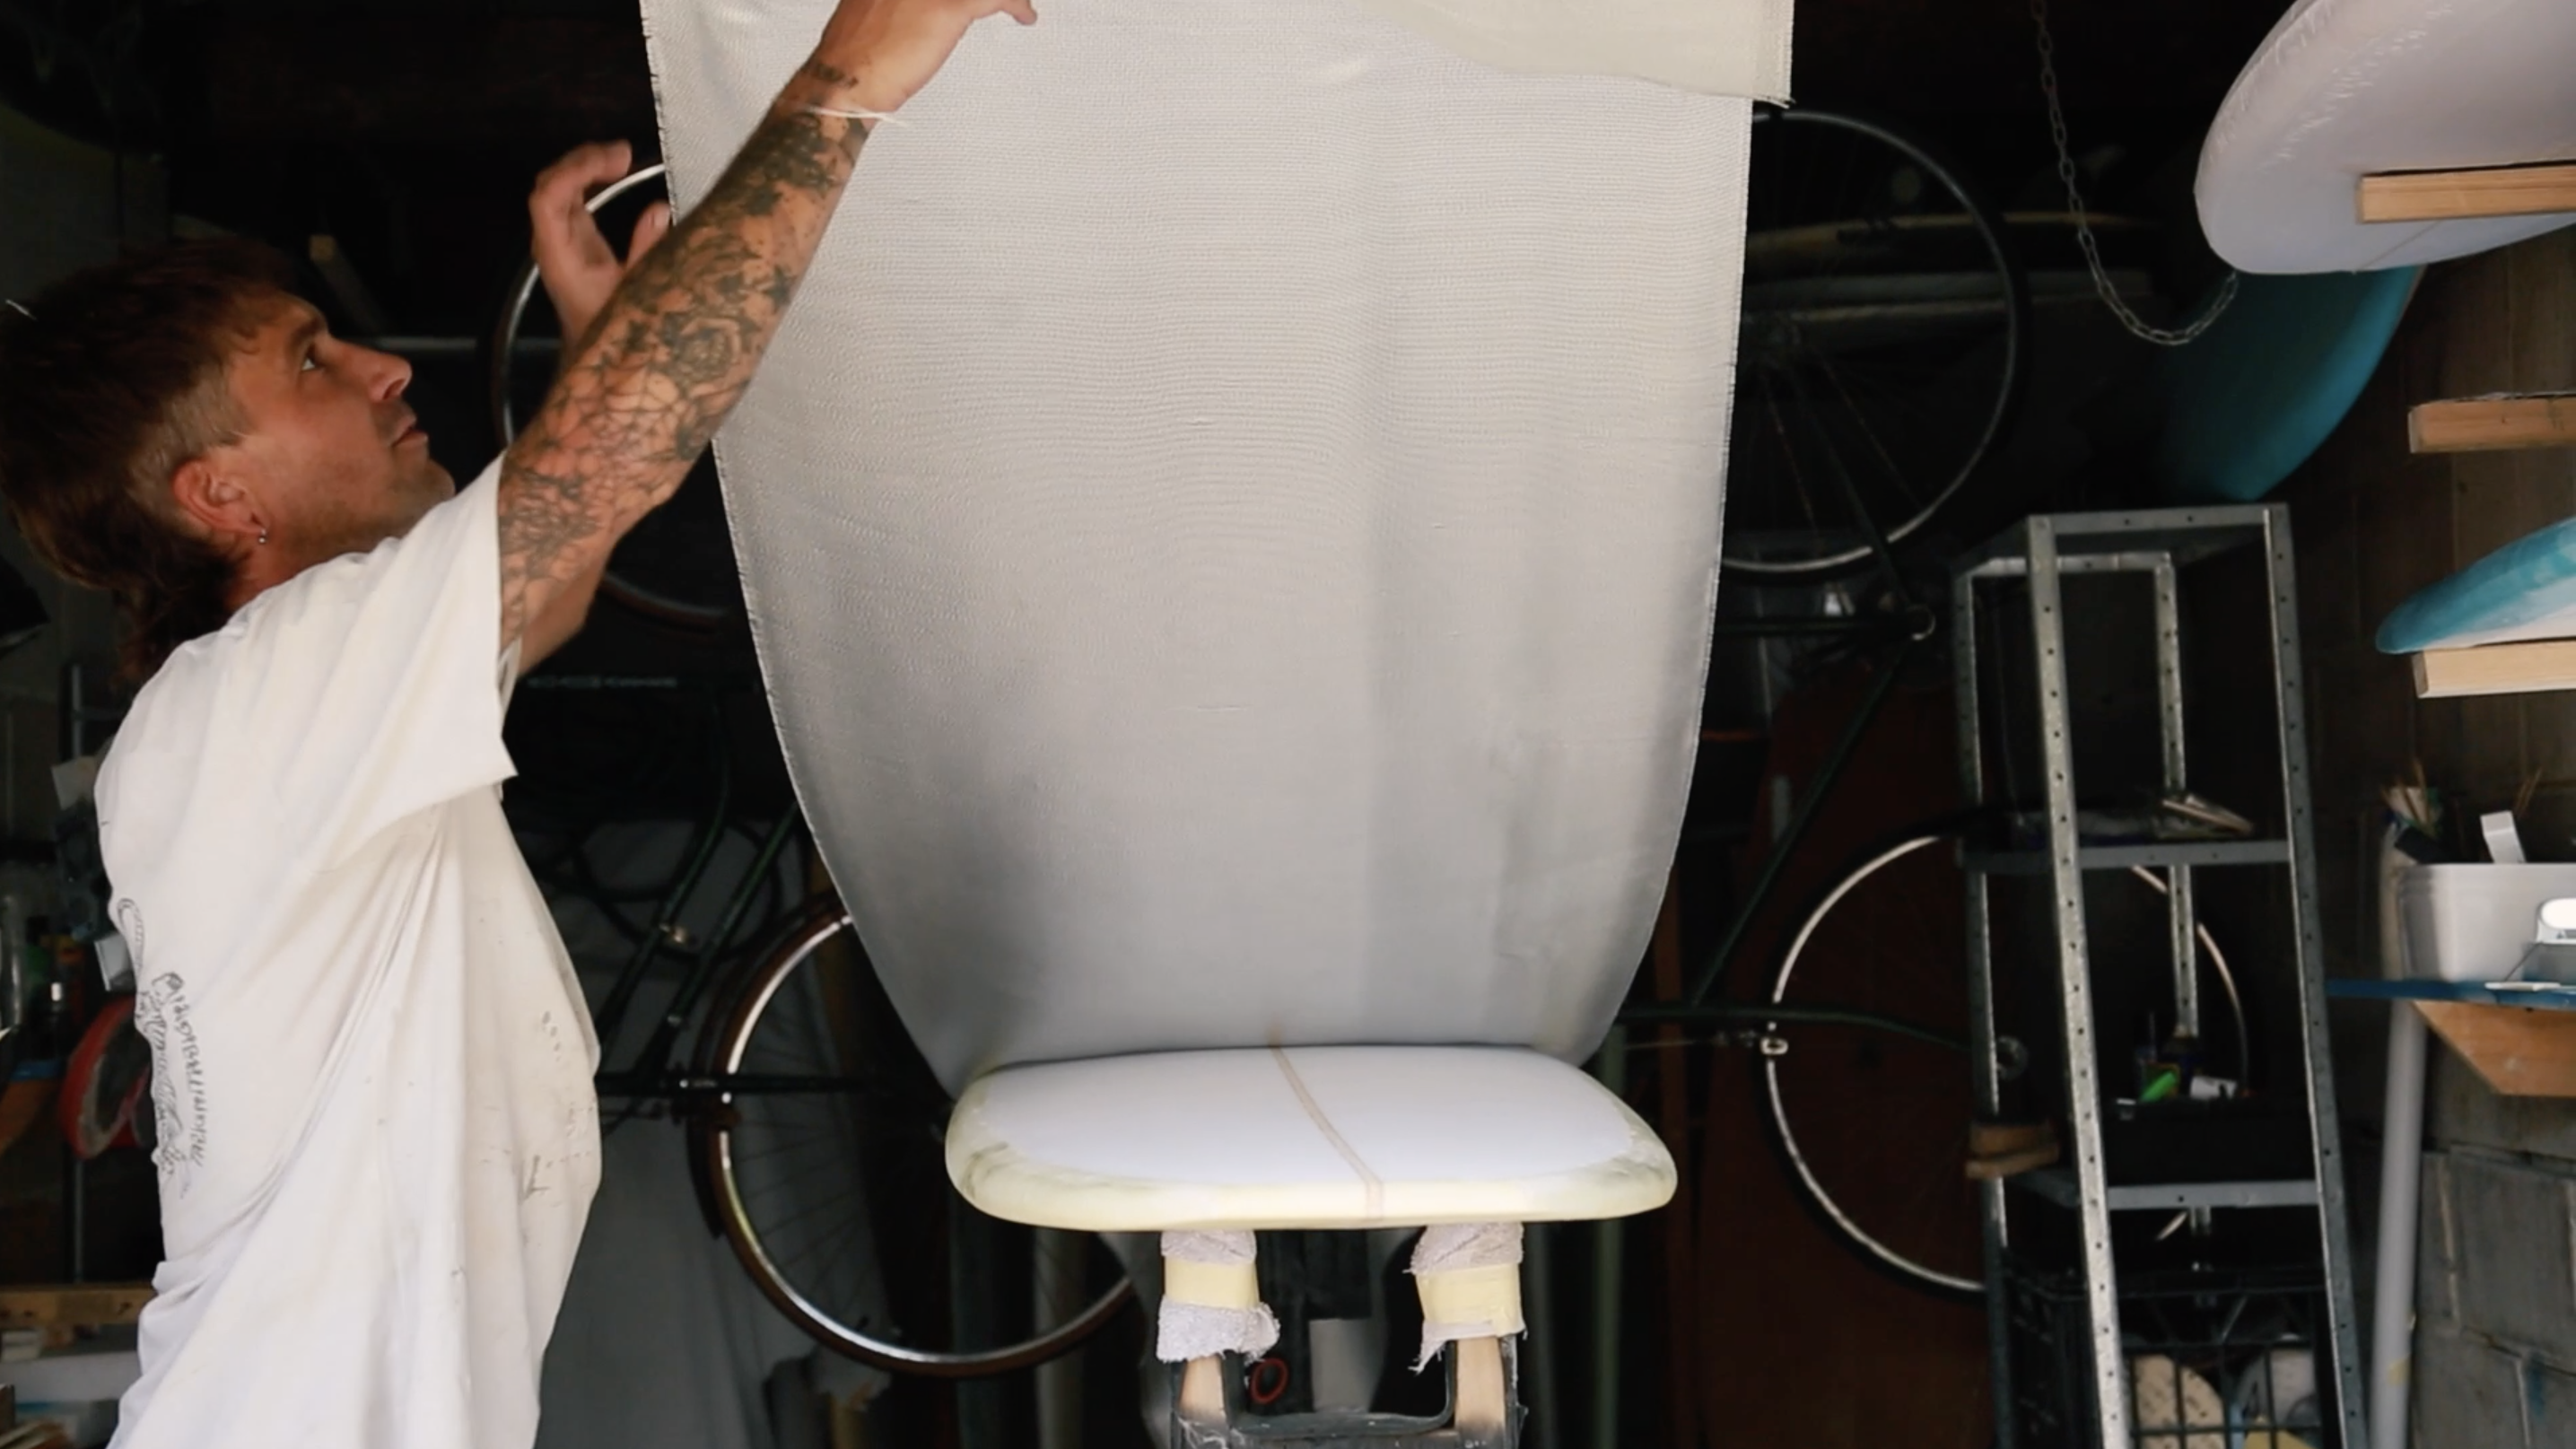 Laying the fibreglass cloth. Photo: Izzy Hobbs
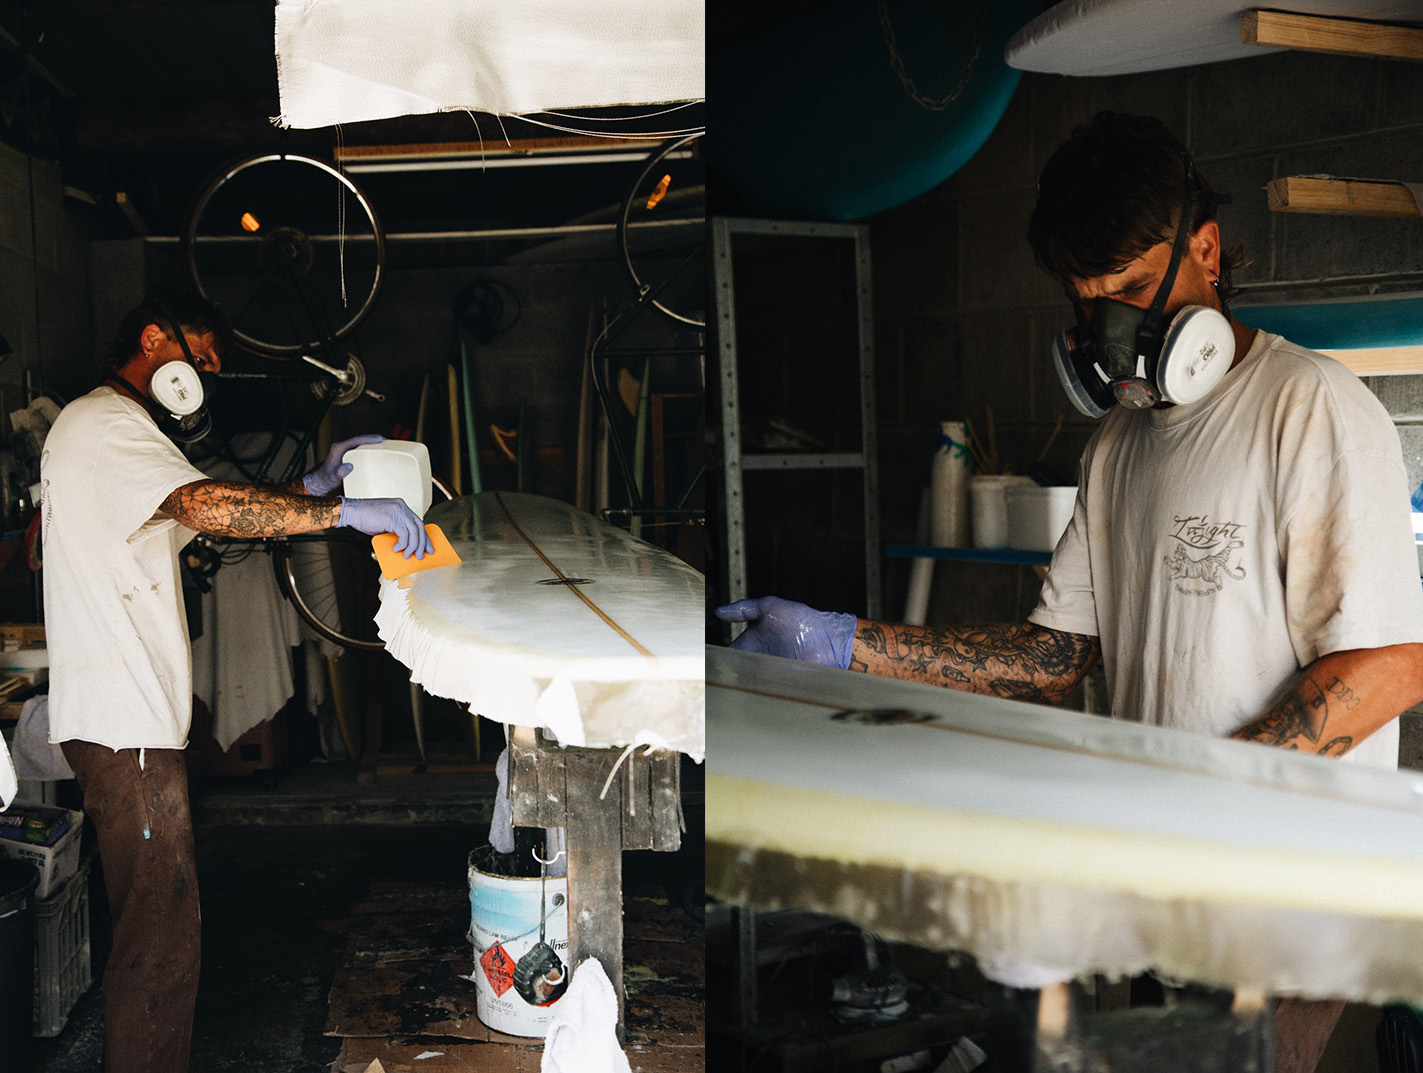
Step5: Filler Coat and Sanding the Board
A laminating resin is mixed with a catalyst that causes the resin to harden in minutes. It is evenly poured over the fibreglass and allowed to settle in. The process of adding fibreglass layers and pouring resin can be done multiple times until the desired strength is achieved. The filler or sanding resin is a second coat of resin that is used to ‘fill’ in any gaps in the laminating resin.
 Pouring laminating resin mixed with catalyst over the fiberglass. Photo: Izzy Hobbs
Step6: Glassing the Board
A final coat of gloss resin is mixed with a catalyst and applied over the board. The board is finally sanded to remove any imperfections then rubbed, polished, and buffed to give it that glossy finish.
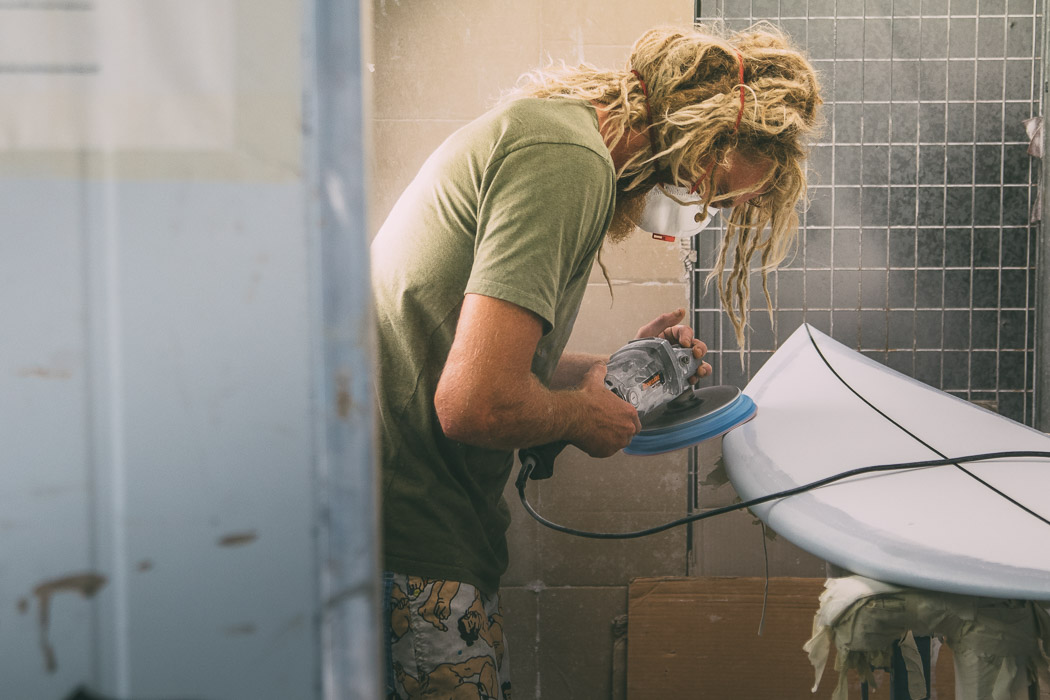 The final buff and polish.
Making Surfboards – From the Shop to our Store
Quality has a price and most of the expenses that go into surfboard manufacturing is because of the hundreds of work hours that go into creating them. Most of our boards usually sit in our store for a few months but with the ever-increasing demands these are usually gone in a few weeks.
If you ever find yourself having a difficult time ordering some of our popular surfboards you can get in touch with us by getting our contact information at our Contact Us page or click the message icon at the bottom right corner of our page. We’ll be more than happy to assist you!